DIY crafts is a catch phrase that has been all the buzz recently. DIY crafts are showing up more and more in interior decor in the home. Whether it be milk painting an old dresser or making an old clay pot into a decorative piece keeping the interior of your home fresh and colorful can be very easy!
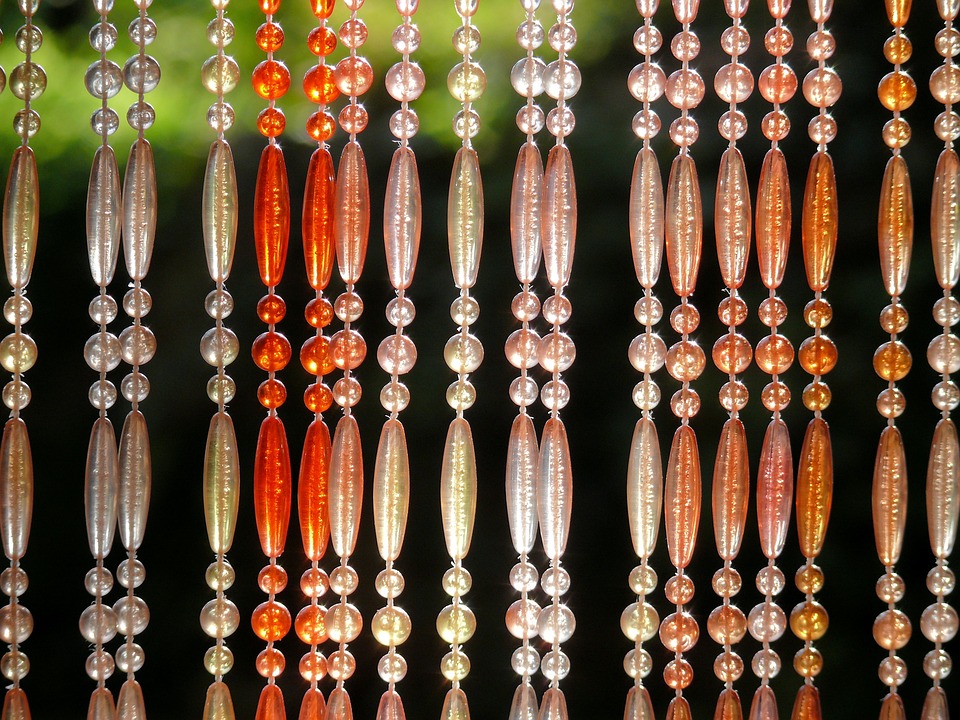
Beaded Curtains

Firstly, a great way of dividing a room but without loosing any light is to use a tasseled curtain. A modern and fresh take on this is to use woolen pom poms to make your own room divider. You can make the pom poms yourself. But as this DIY craft project require so many, it’s probably best to buy them in bulk.
You will need to thread pom poms onto long strings. Remember that the string will need to be slightly higher than the doorway so it can be fixed above. Thread the cord you are using with a needle. Then the pom poms will go on easier. After each pom pom is in place, tie a knot to secure it.
Once you have enough pom pom threaded cords to fit across your doorway, you will need a strip of wood or MDF that it’s the width of the door. Stick the top of the cords onto the board. Make sure that they are equal distances apart. You will need to use some strong glue with this project like this. Try something like the glue that works with the glue guns from Glue Guns Direct, which creates a strong bond as it’s heated before application.
Once dry, paint the board the same colors as your walls. Then fix it above your doorway with the cord side face in. Use another piece of cord or a silk scarf as a tie back fro when you want the doorway to be open.
Clay Letter Pots
A useful addition to any desk or kid’s bedroom is a pot to keep you organized and store all of your knick knacks in.
You can make your own with air drying paper clay. Cut a stencil for the letters you want from scrap cardboard. Then roll out the paper clay on a flat surface. A glass chopping board work well for this but don’t use it for food again after. Then apply the stencil to the rolled out clay and use a sharp craft knife to cut carefully around it. This will be the base.
Put the base to one side and roll out some more clay. You want the second lot to be larger than the first in diameter. Then using a ruler and a craft knife cut some long strips from the clay. The width of the strips will be the height of your pot. Don’t make it too tall that it cannot support its own weight. 7 Cms is about the right height.
Then take the bottom and shape the stripes around the curves and lines of the letter. Use your finger or the back of a spoon to blend the sides into the bottom so you can’t see the join. Then allow the dry.
Once it’s fully dry, you can paint with acrylics, then seal for a colorful and long lasting finish. What other DIY craft projects have you made to incorporate in your décor?
This post is a collaborative effort and may contain relatable and relevant affiliate links. All opinions are our own and for informational purposes only.
