DIY interior improvements seems to be the buzz word these days among creative people. Completing a project yourself can save you money. It can give you a sense of accomplishment and also give you a finished piece that’s totally unique. So you’ve scoured the shops and not finding what you’re looking for. Or maybe you have the time and skills to build, why not build it yourself instead? You might be overwhelmed by big projects. You can start smaller on easier pieces and work your way up if you find that you enjoy it. Even if you’re a complete DIY interior improvement beginner here are three projects to get you started. Each of which shouldn’t take you more than a day to do.
DIY Coffee Table

There are so many creative ways you could do this. Because a coffee table only really requires a tabletop and four legs it’s a not a difficult project to do. You could source an amazing looking piece of reclaimed wood, sand and varnish it for the top. For the legs you could go with ready made furniture legs. These can be screwed directly onto the piece, or even better add some wooden legs.
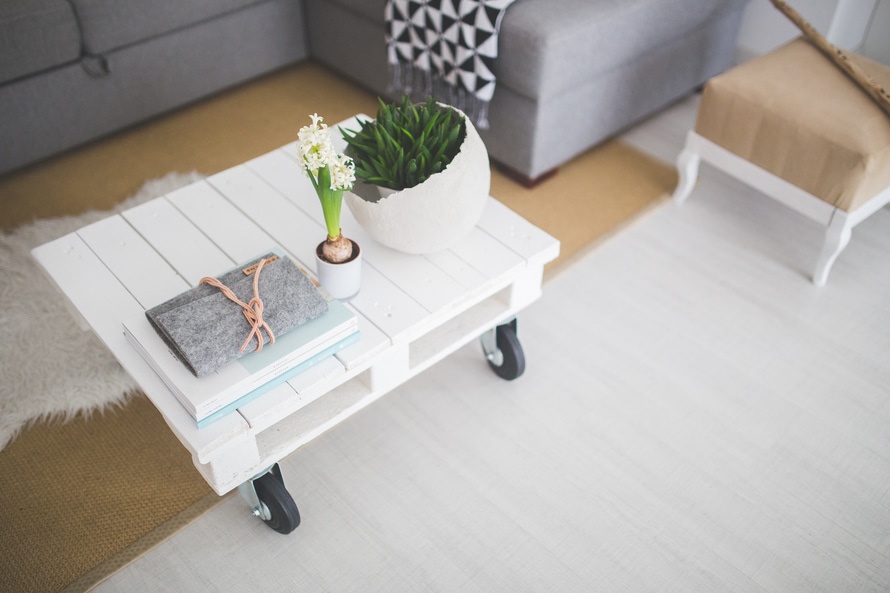
A timber yard like George Hill timber merchants will have all of wood. You’ll need something like this. Then it’s just a case of fitting them to the top with dowel screws. An even easier alternative would be to up cycle an old wooden palette. Attach wheels to the base, you then have an instant coffee table that even has shelves underneath. Give it a good sand, and finish by either treating it with varnish or paint. For a gorgeous shabby chic look, apply a matte chalk paint. Then sand the edges to give it that rustic and worn vintage charm.
DIY Headboard

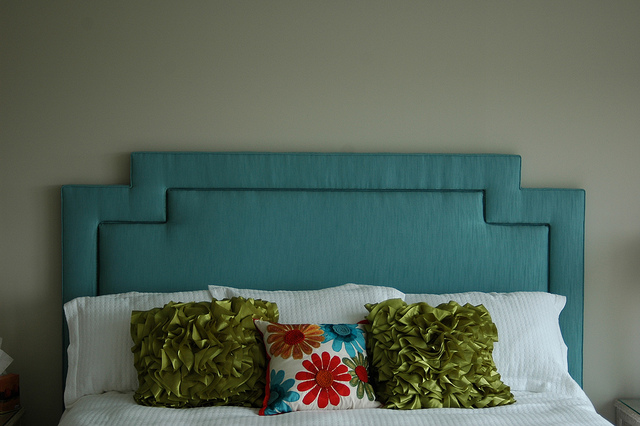
Custom-made headboards can be pricey but worth the money if you can afford them. Luckily can create one yourself without much hassle or too many materials. For a simple upholstered headboard, carefully measure the width of your bed. Then cut down a piece of MDF to the right size. Cover the wood with a sheet of upholstery foam, gather it at the back. Then secure it to the wood using a heavy duty staple gun. From there you just need to cover it with the material of your choice. Again gathering the excess material at the back and securing with a staple gun. For an even simpler alternative you could opt to just sand and paint the MDF instead.
DIY Interior Improvements With a Spice Rack

This post is a collaboration and may contain relative and relatable affiliate links. All opinions are our own and for informational purposes.
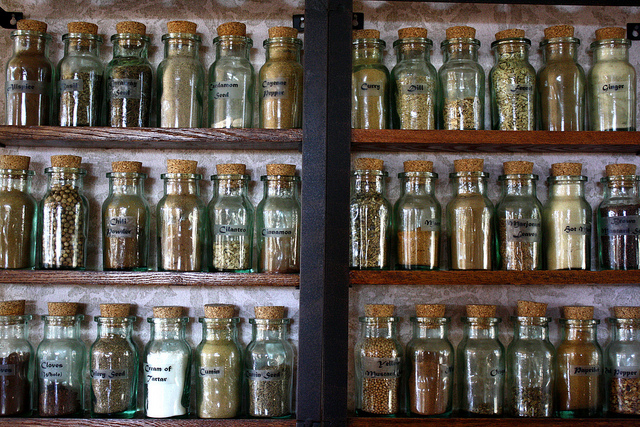
An important part of the kitchen for anyone who likes to cook- an organized spice rack. If you’re currently having to dig around in a cupboard for fiddly jars and packets then this DIY interior improvement is a great choice. It’s incredibly simple to do so perfect for beginners, essentially you’re just making teeny little shelves. Start by choosing the jars or containers you plan on keeping your spices in, and measure the depth. For the actual shelf you just need two pieces of wood, one that’s slightly deeper than the jars and another thin strip of wood to act as a ‘lip’ (this will prevent your bottles from falling off). Glue the strip of wood to the edge of base piece, and attach to the wall using simple shelf brackets. Repeat this process depending on how many rows of spices you want. Easy!
For you DIY’ers, these are simple interior improvement projects that could be very functional and aesthetically pleasing. For the rest of us who don’t have the time, skills or creativity, contact All About Interiors for custom decor.
